Bagel Secrets: What They Didn’t Teach You About Making Bagels
What I wish I knew before getting into bagel baking
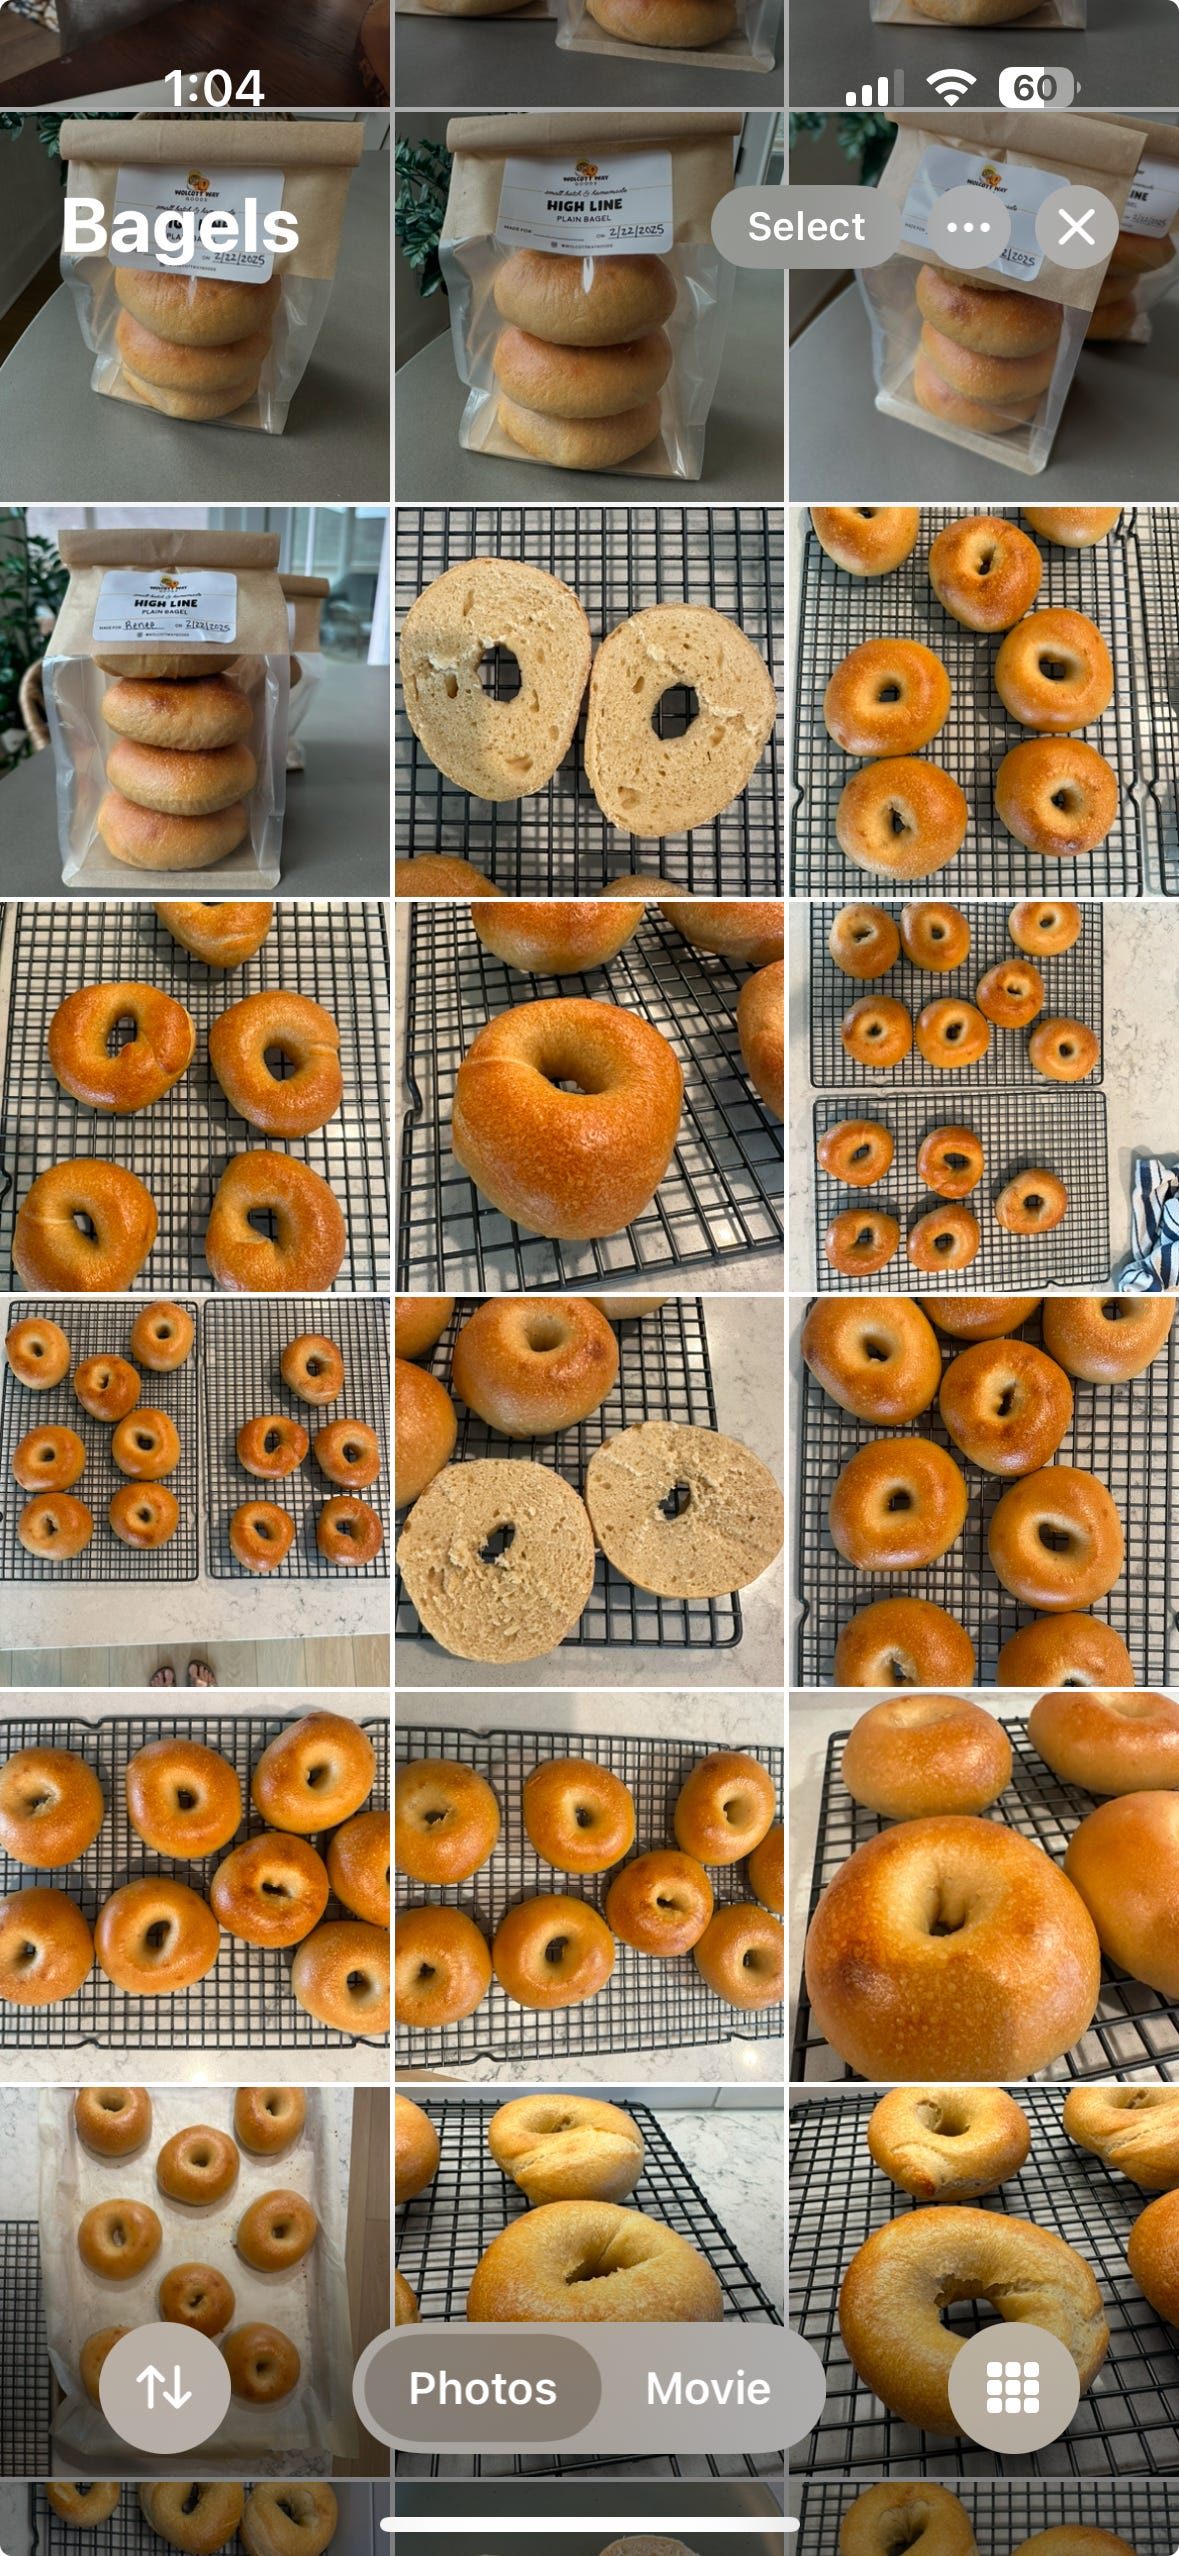
Bagels have always held a special place in my heart (and my morning routine). As a self-proclaimed bagel devotee, I’ve dedicated an entire photo album on my phone to bagels I’ve bought, made, and admired (I don’t even have an album for my daughter or dog). I’ve created lists in Google for every bagel shop I’ve visited and want to visit. I even BYOB (Bring Your Own Bagels) on road trips just so I can get my daily fix.
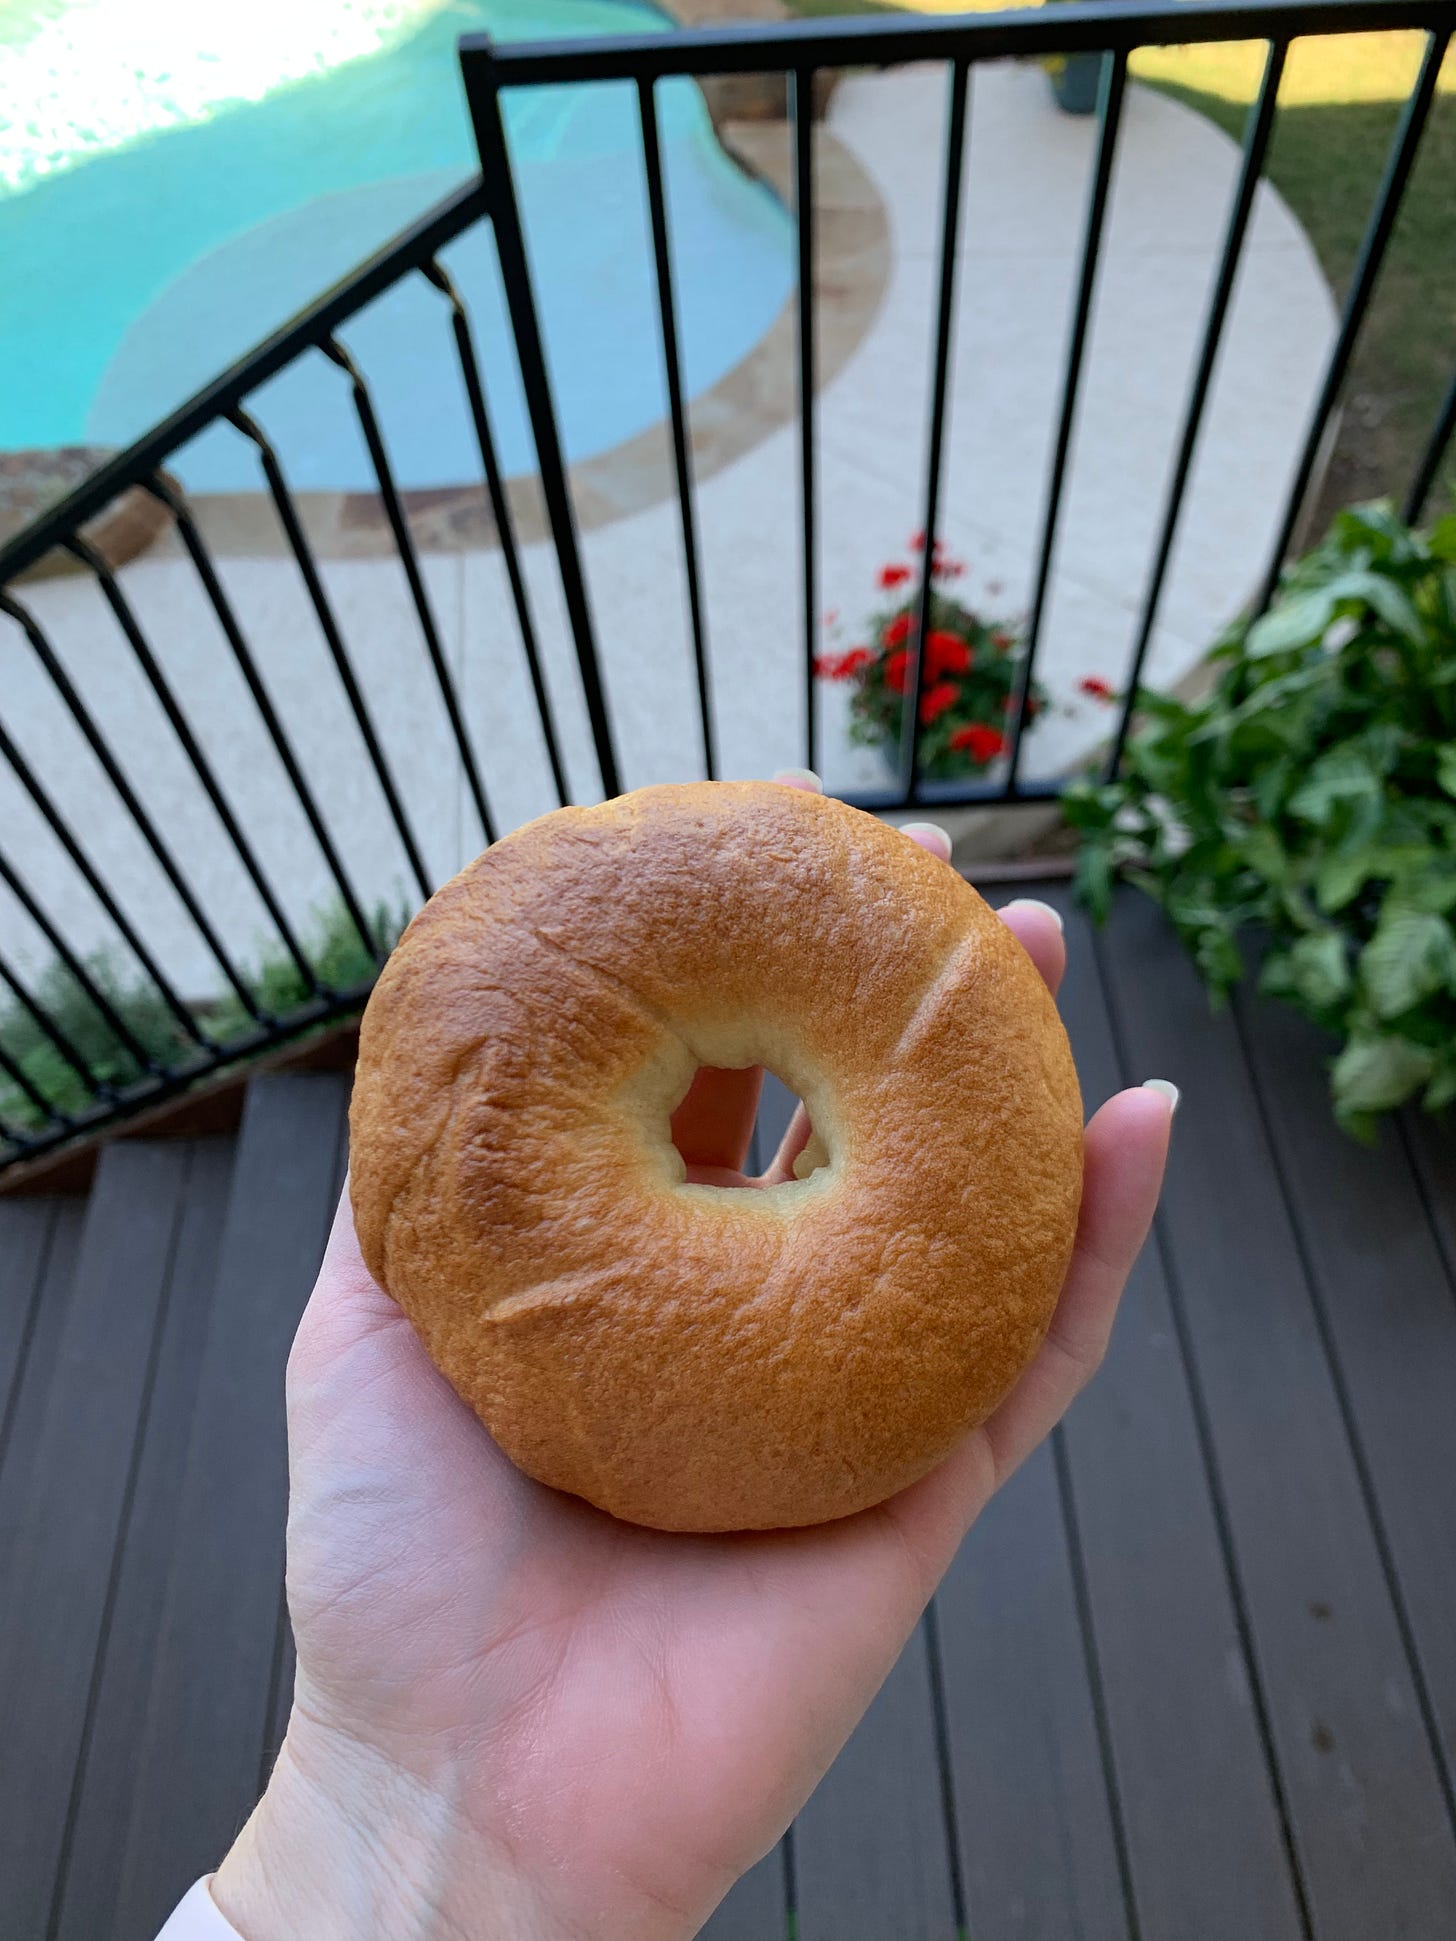
After countless trips (over 70 miles round-trip) to my favorite bagel shop in Austin, I decided it was time to start perfecting my bagel baking. Over the past month, I’ve experimented with nearly 20 batches of homemade bagels. The journey from quick recipes to mastering the art of bagel baking has been full on trial and error.
Learning the Essentials
I’m an instant gratification girly, so if you tell me I have to wait 24-48 hours to know whether my bagels are going to turn out, I’m gonna choose the shortcut. For my early batches I was using quick recipes like those from Sophisticated Gourmet—perfect for an instant fix, but lacking in consistency and that typical NY-style bagel appearance.
I tried Googling recipes but that’s like opening pandora’s box. Everyone has an opinion on bagels and I really didn’t know where to turn. Until I found the subreddit for /bagels. This was such a supportive community of bagel novices and pros, sharing their tips, asking for critique and celebrating the brag worthy batches. I posted photos of some of my bagels and immediately got support and advice from the community.
They turned me on to the recipes from So Much Food, Brian Lagerstrom, Peter Reinhart’s Bread Makers Apprentice (full transparency: I haven’t done this one yet) and King Arthur. Pretty much all of these had the same ingredients but focused on new techniques, and asked me to cold proof (what the hell is that?!).
I did a lot of research (aka deep Reddit scrolling) and learned my way around some of the recipes. What I learned was that beyond the basic ingredients, it’s the little tweaks that truly transform a bagel.
If you’re venturing into the world of homemade bagels, here’s what I wish I knew from the start.
What I’ve Learned About Making Bagels
Flour Type Matters
For bagels, higher-protein flour is key. I switched from an 11% protein flour to a 12.7% version (try this Central Market Bread Flour which is similar to King Arthur’s).
Yeast: Active Dry vs. Instant
They are not interchangeable. I learned this the hard way when my bagels flopped. Make sure you’re using the right type, and if your recipe calls for activation, don’t skip that step. If a recipe doesn’t call for activation, assume it’s okay to toss it all in.
Weigh It Out
Even if a recipe lists measurements in cups, whip out your kitchen scale. Many of the ingredients can get packed down and can lead to inaccurate measurements. A scale makes measurement more precise. Plus, weighing dough balls helps you get uniform bagels.
Temperature Check (DDT - Desired Dough Temperature)
After kneading, check your dough’s temperature. To get a goldilocks rise (not to fast, not to slow) the temp needs to be between 74°F and 78°F. If your dough is warmer (maybe due to using a mixer), you might need to watch your dough closely because you’ll have a shorter proofing time.
The Art of Dough Balls
Before shaping bagels, you need perfect dough balls. My early ones had dents, gaps, and weird closures on the bottom. The more precise you can be in this step, the better your bagels will look in the end. This is a good NYT tutorial to learn how to do the ball shaping.
Poke or Roll?
There are two main methods for forming bagels - poke method or roll method. While some might criticize the poke method as a shortcut, I’ve found it works perfectly for my bagels so do what feels right for you.
Over vs. Under Proofing
When googling the symptoms of my bagels, I kept getting the vague advice: “You might have over or under proofed.” Okay, but which one?!
Overproofed bagels = flat/deflated, sour/yeasty
Underproofed bagels = dense, chewy, doughy
I learned to take things slow so I don’t overproof. I’d rather have an underproofed bagel over overproofed.
The Float Test
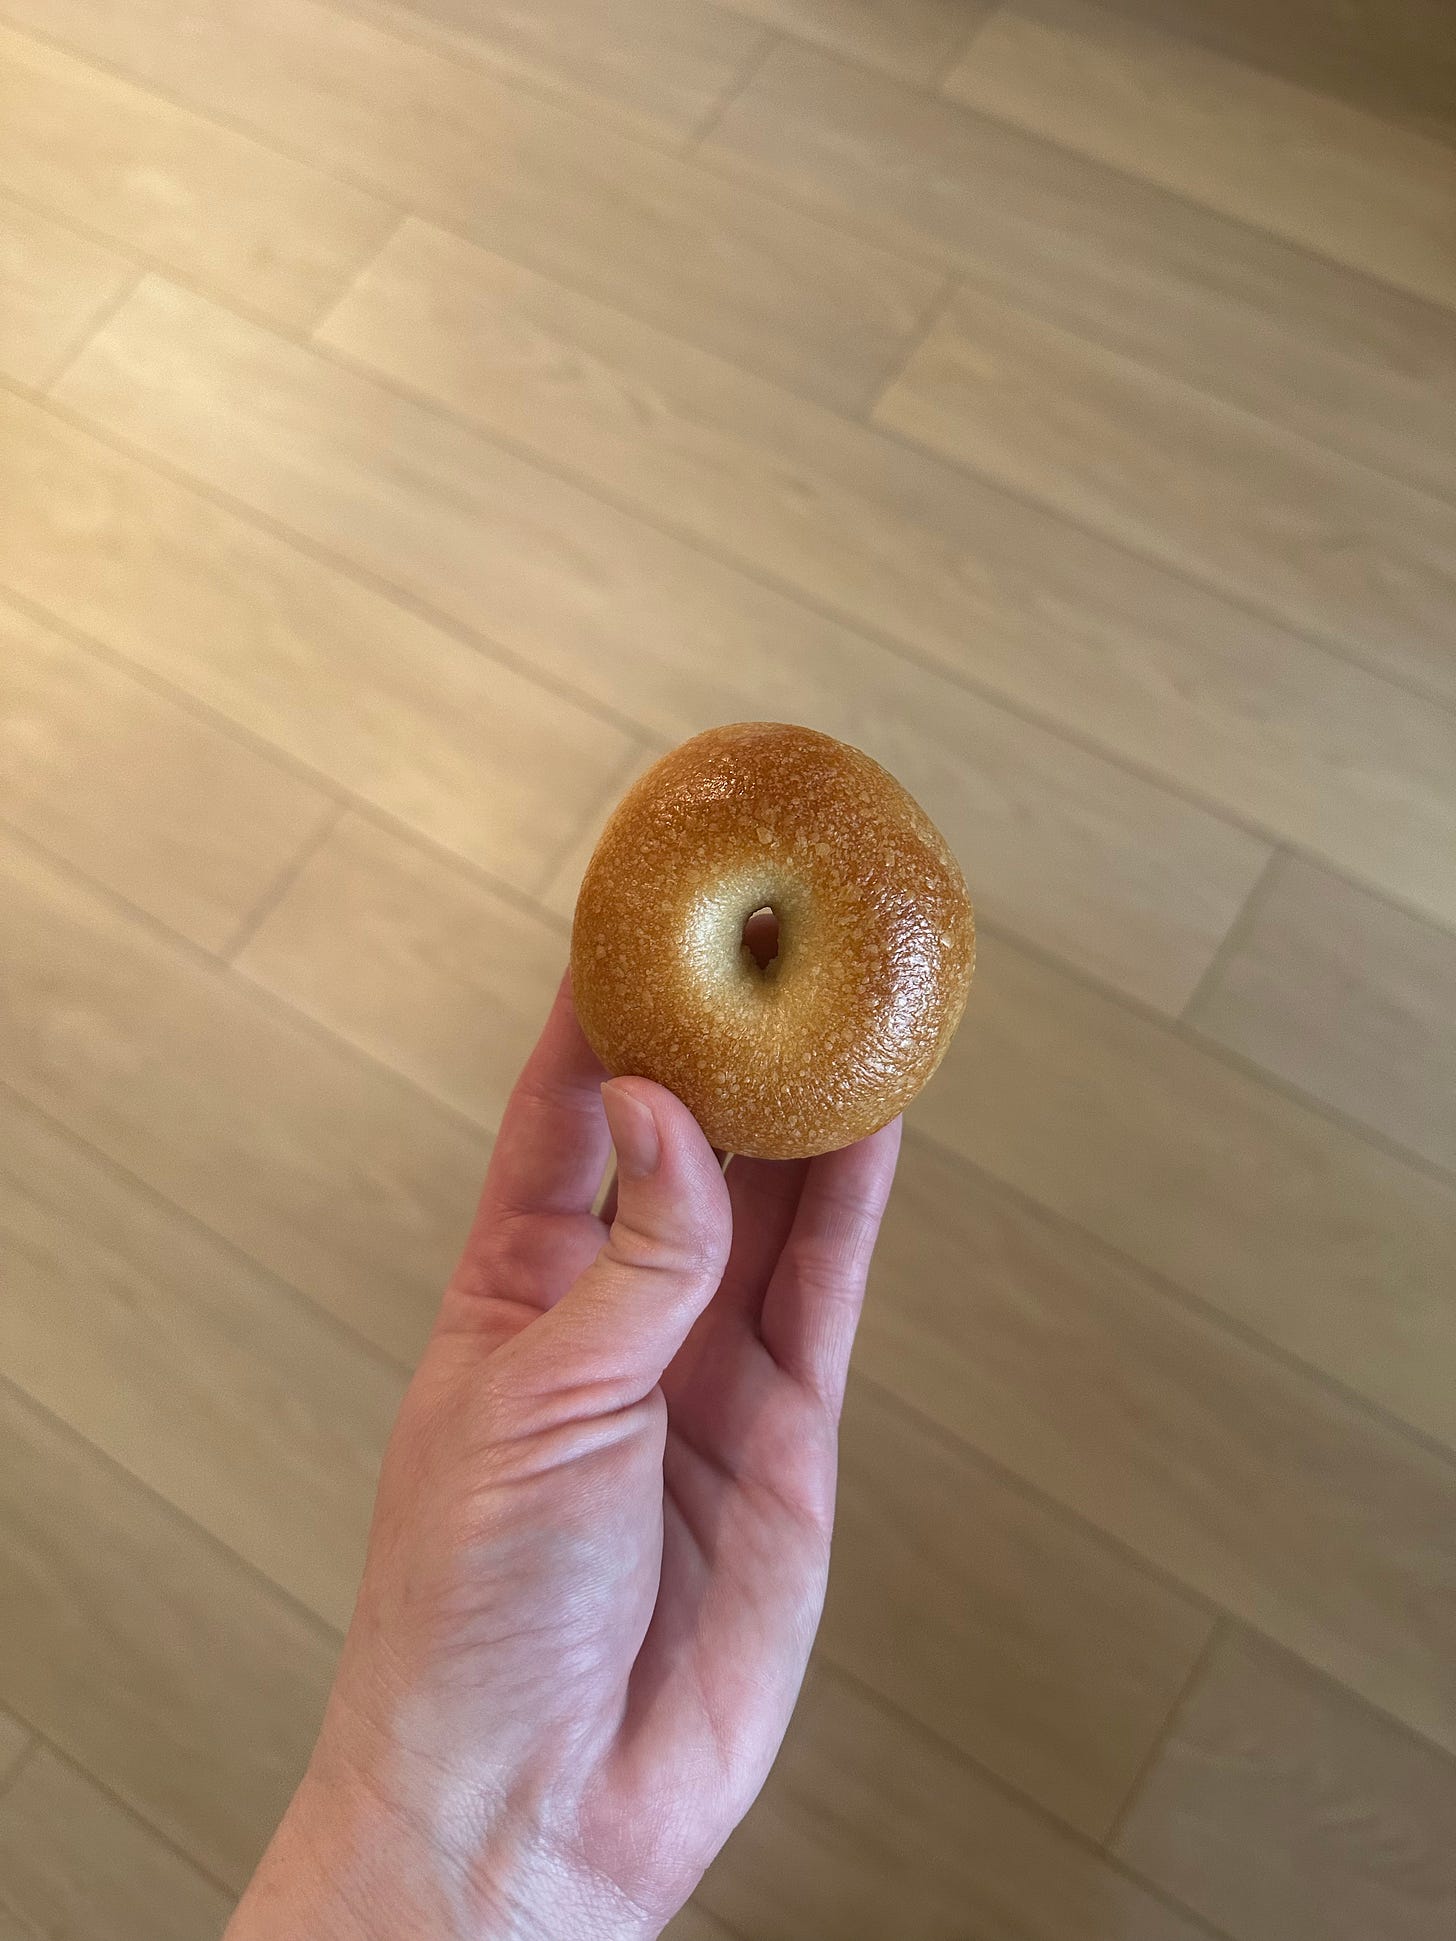
Hold back a little dough from your bagels (I actually make them into mini-bagels) that you can test in boiling water to see if it floats.
If it floats, it’s ready to go to the boil stage or cold proof.
If it sinks, it needs more time to rise.
Cold Proofing = Better Bagels
At first, I resisted recipes that required 24-48 hours of waiting. But cold proofing gives bagels a better crust, blisters, and deeper flavor. To do this, put your bagels (pre-shaped) on a cookie sheet with parchment and cover overnight or up to a few days. I prefer to do overnight or within 24 hours.
From what I understand, cold proofing shouldn’t actually proof the bagels more. It slows the proofing process and puts them in a freeze state. When you’re ready to boil, take the bagels out of the fridge and let them counter rest until they pass the poke test (a slight finger press that should spring back). I made the mistake of rushing this step a few times and ended up with dense, chewy bagels. Most recipes don’t specify this step, so this was a tip I had to learn through trial and error.
The Boil: 30 Seconds vs. 2 Minutes
Boiling is what makes a bagel. Overboiling creates a dense, tough crust and doesn’t allow the bagel to puff enough. Underboiling means you’ll lose the classic NY-style bagel texture. Recipes vary, so you’ll need to experiment with what’s right for your dough.
The Great Crumb Debate
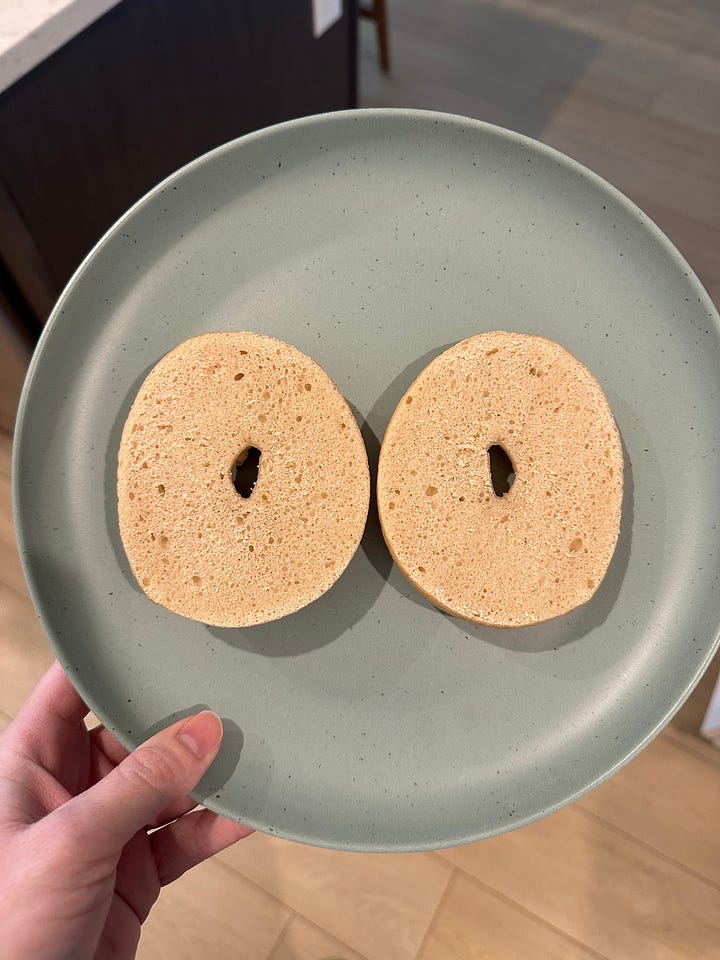
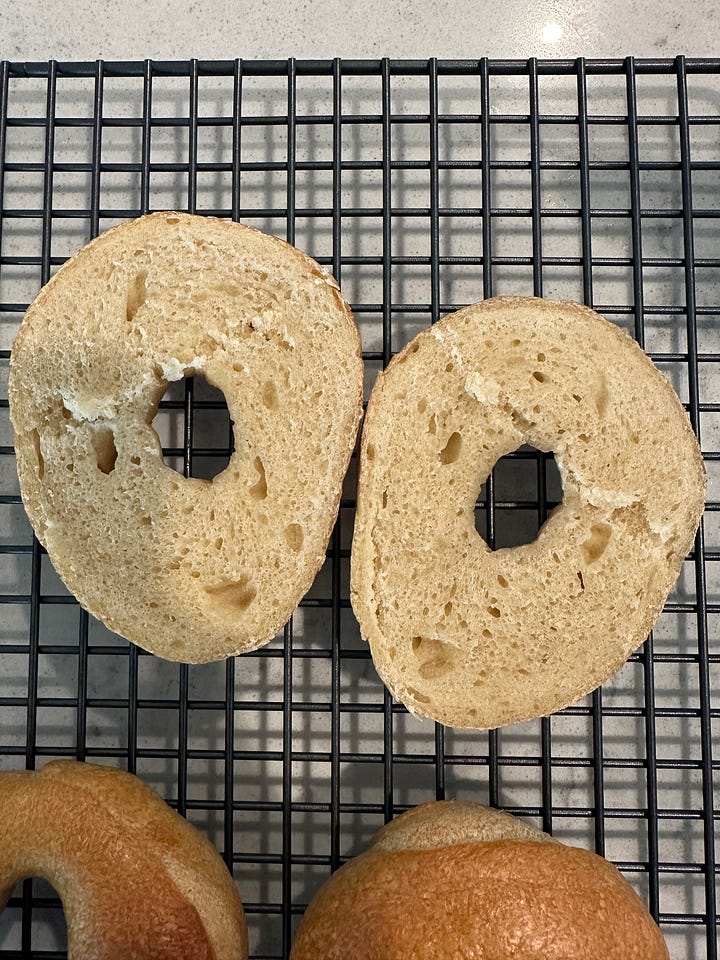
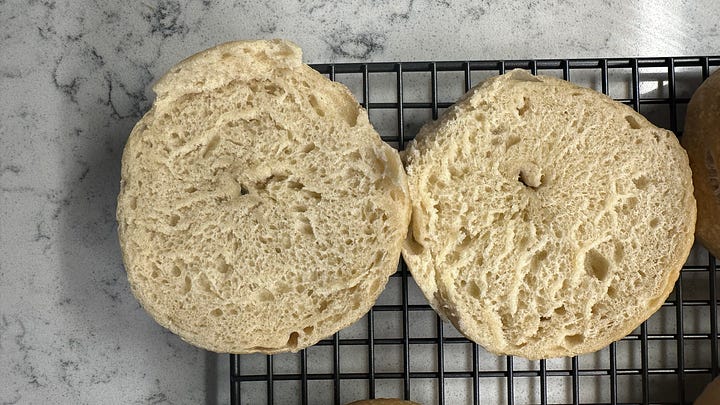
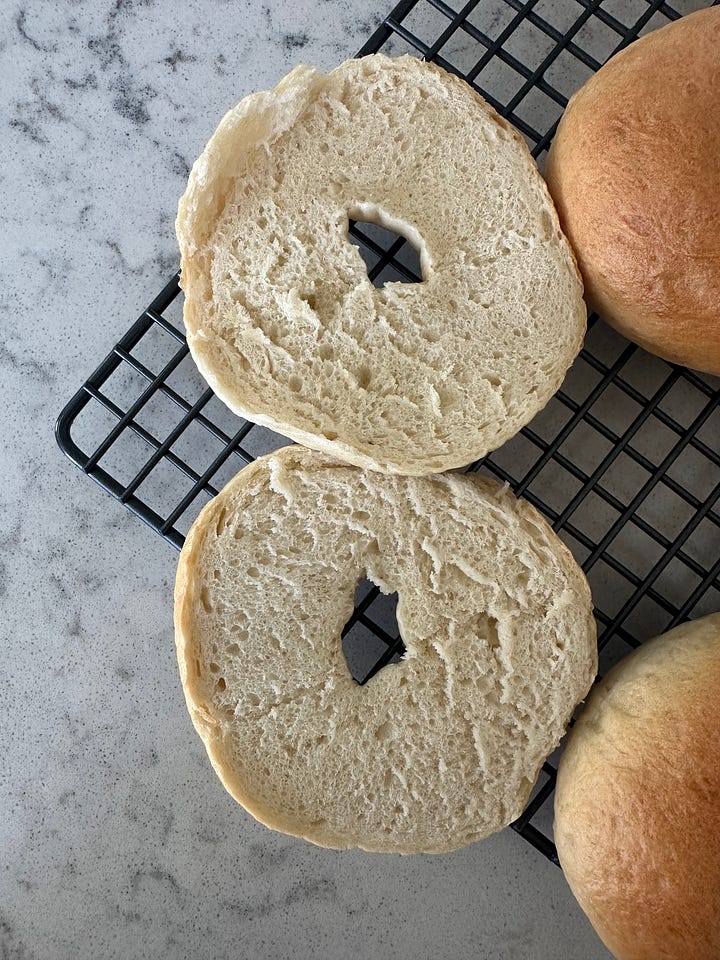
I spiraled into comparing my bagel crumb to online photos. I found myself asking “Are my holes too big?! Are my crumbs too crumbly?! Is my bagel ugly?!”
Lesson learned: Crumb preference is personal. I got over my bagel-dysmorphia and got comfortable with what I made. If it tastes good, it’s good.
Invest in the Right Tools
Covered Cookie Sheets: For weeks, I was wrestling with plastic wrap to cover my bagels on the counter and in the fridge. Do yourself a favor and invest in cookie sheets with plastic covers.
Bagel Boards: A few years back my very thoughtful friend Genevieve bought me bagel boards. I’ll be honest, I tucked them into a cabinet and never used them because I didn’t know what they were. Welp, I finally figured them out and they’ve been such a benefit on my last few batches. You soak bagel boards in water and use them for the first few minutes of your bake to get a good toast on the bottom of the bagel (without burning) and they allow steam to assist in the baking process.
I’ll leave you with this last piece of advice. Not every batch will be perfect. Take the bad batches as they come. Regroup and figure out where you went wrong. Some things you can control and some you can’t. But you can’t dwell in the disaster.
And remember my personal bagel motto:
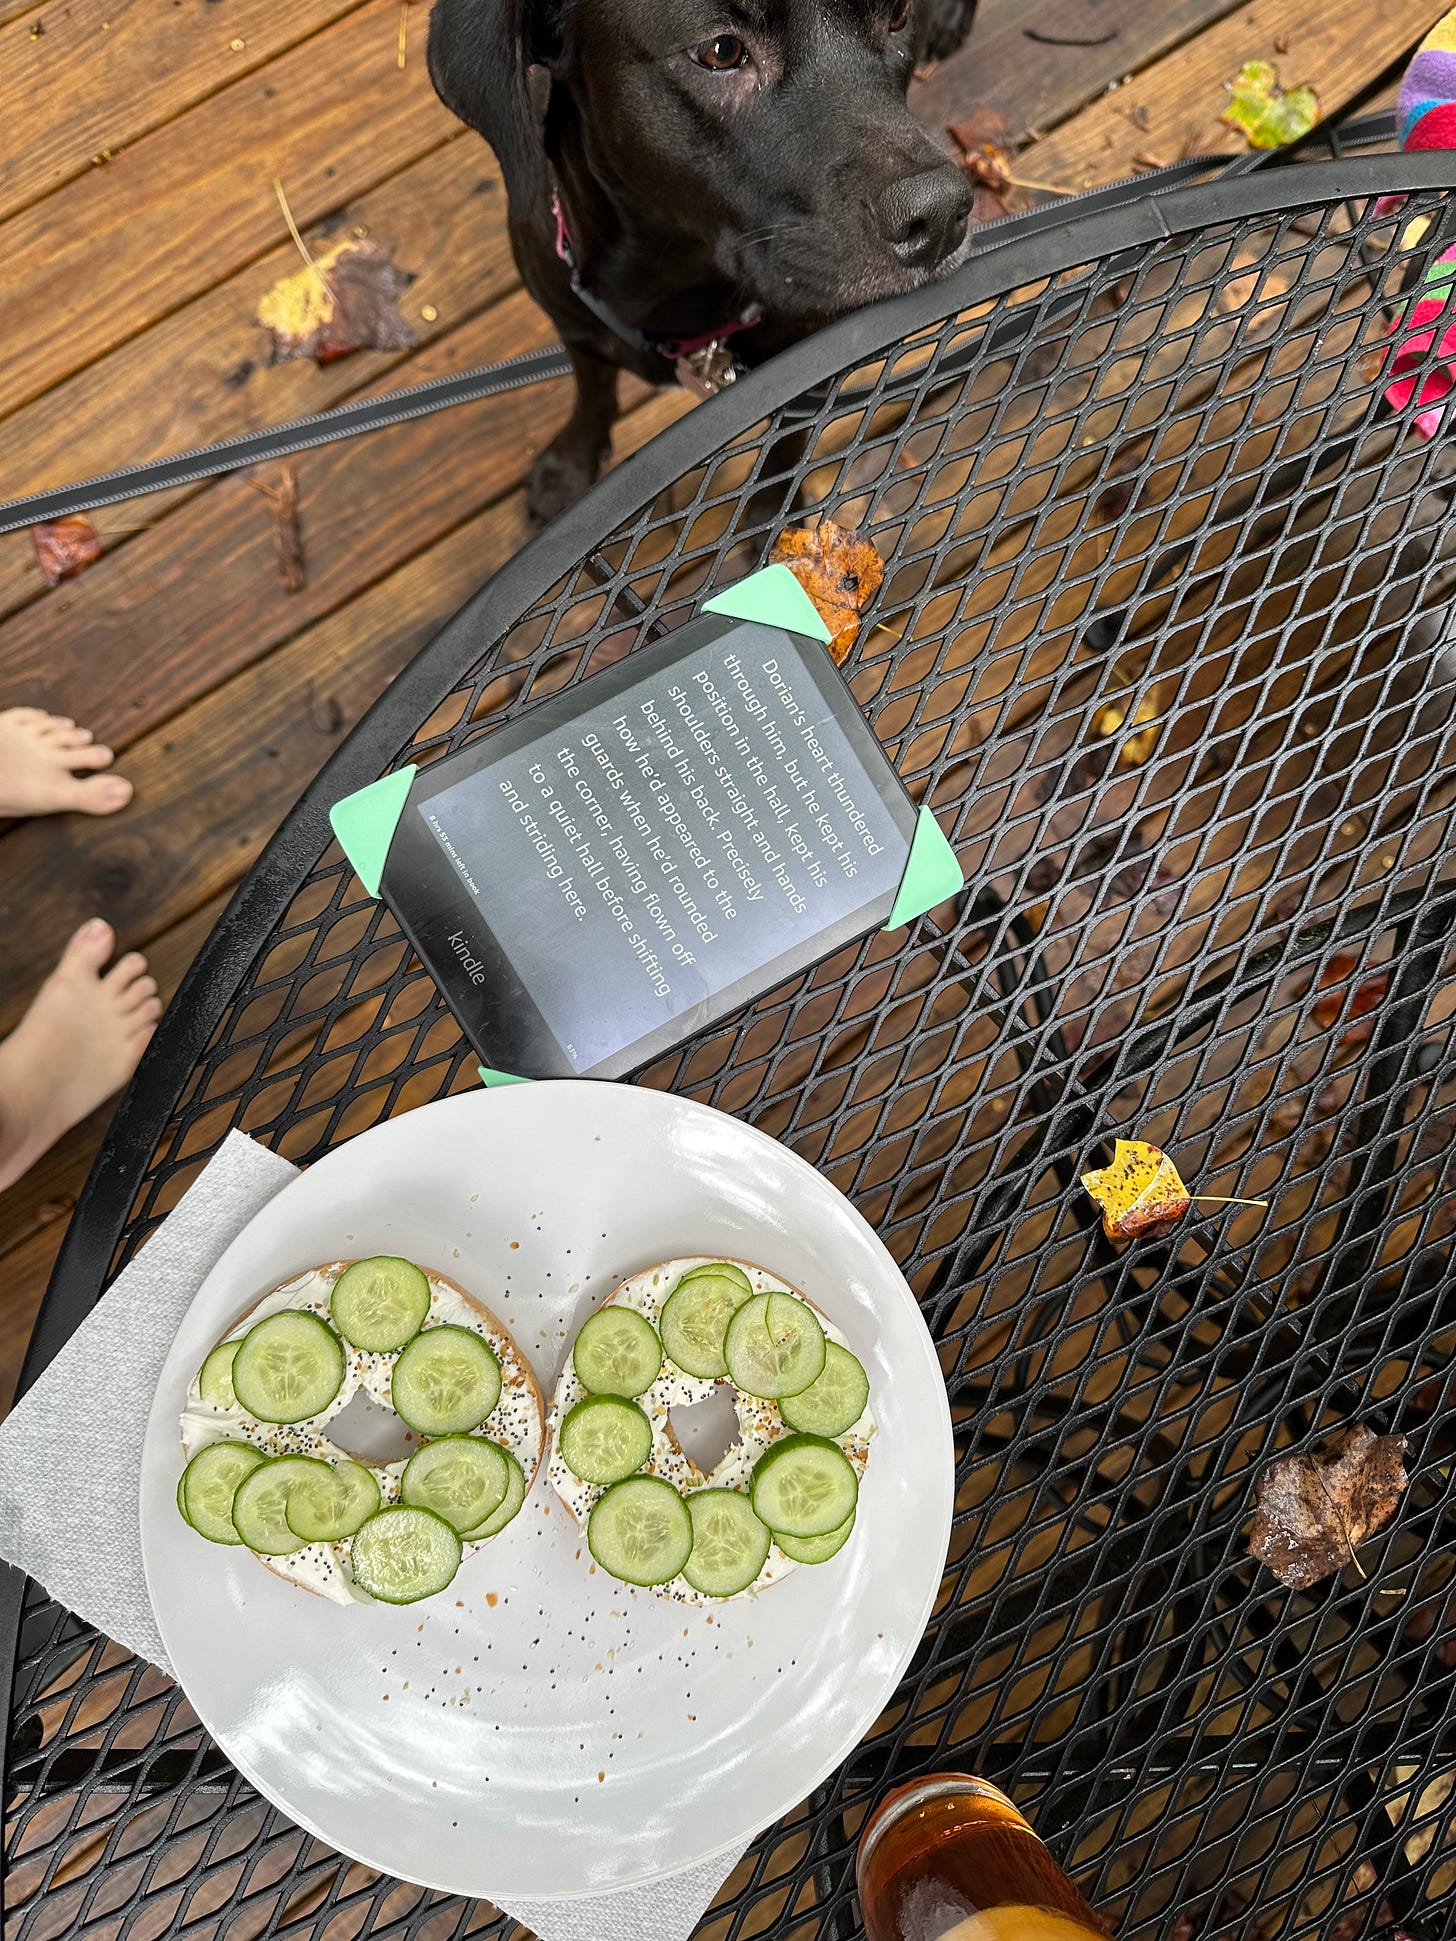
✨ “If you can hear the knife dragging against your bagel, you don’t have enough cream cheese.” ✨
Happy bagel baking!


